How to Organize the Unfinished Basement
If the thought of organizing your basement sounds overwhelming, you are not alone. One tried and true way of overcoming that is to break a large project into manageable tasks. What better time to do that than RIGHT NOW? There is no better time, and we’ll show you how.

DAY 1 | BUY SOME TOTES
If you have lots of stuff just scattered around, you’re going to need a place to put it. In our home, we have a combination of clear bins that you can see into, and more heavy duty opaque bins like these.
DAY 2 | SHELVES
If you only have a few totes to fill, then perhaps you won’t need a shelf. We’ve seen many different scenarios in helping clients get homes ready to list. When there is plenty of storage in closets and other areas throughout the home, not as much ends up in the basement. Most often, a lack of storage in other places in the home leads to a lot of things getting tossed in the basement. This is especially true for many of us who own older homes- the character and charm that we so love comes at a cost! ;-) Since we have virtually no storage outside of the garage and basement, basement shelving was absolutely necessary. Here are some easy to follow and affordable diy shelf building instructions that we found helpful.
DAY 3 | SORTING
Once you have your totes and built your shelving, it’s time to start sorting. The key is to group like things together- this may seem obvious to some, but at the point of overwhelm, even that feels impossible. Stick with us here. Even if you do only an hour of sorting each day, soon enough, you’ll get through all your stuff. We have a lot of stuff that we use for staging homes for our clients and we also flip houses, so for us, our sorting piles looked something like this: Stuff for painting, Stuff for drywall, All things to do with electrical, pillows, rugs and textiles, home decor stuff, holiday decor stuff (if you get into decorating for the holidays, you may want to break this down into Christmas, Easter, Halloween, Etc.) Outside of that, we had piles for the things that we needed to get rid of so; trash, a donation pile, a give to friends/family pile, a sell on craigslist pile, and a ‘this belongs in the garage pile’ … once you have a rough idea of your categories, crank some music and star sorting!
DAY 4 | PURGE AND LABEL
All those little piles that you made for trash, donations, craigslist etc.? Now is the time to get rid of them or send them to their new homes. Hopefully by now you have your stuff organized into various separate totes. Now it’s time to label them. We use good ‘ol masking tape and a sharpie, and you’ll want to be sure the labels are facing out when you place your totes on the shelves or stack them in the corner.
DAY 5 | TOOLS
Do you keep tools in your basement? Because our historic home came with a smallish garage, we don’t have a lot of extra space in the garage to keep tools, so in the basement they go! Many of our tools are organized using pegboard - we like the white ones like this which is carried by Lowes, and bonus it comes in a perfect size to hang on the sides of our shelving without having to do any trimming whatsoever. You will need some hooks like this which are also pretty inexpensive at Lowes. You won’t really know how to hang the tools until you just dig in and get started and figure out what fits where and how. If you need some ideas to help get you going, here’s a good starting point. As you can see below, ours is a bit of a work in progress.

DAY 6 | CLEAN
When you’re able to see the floor again, do a little cleaning. In our basement we used a shop vac to clean the floors and suck up all the little cob webs that have accumulated throughout the past year (or however long, we’re not judging over here!) Vacuum off the stairs and landing as well as the area underneath the stairs. If your basement has windows, glass block or otherwise, go ahead and clean those too- inside and out. Not sure how? Check out our window cleaning blog post, that should help.
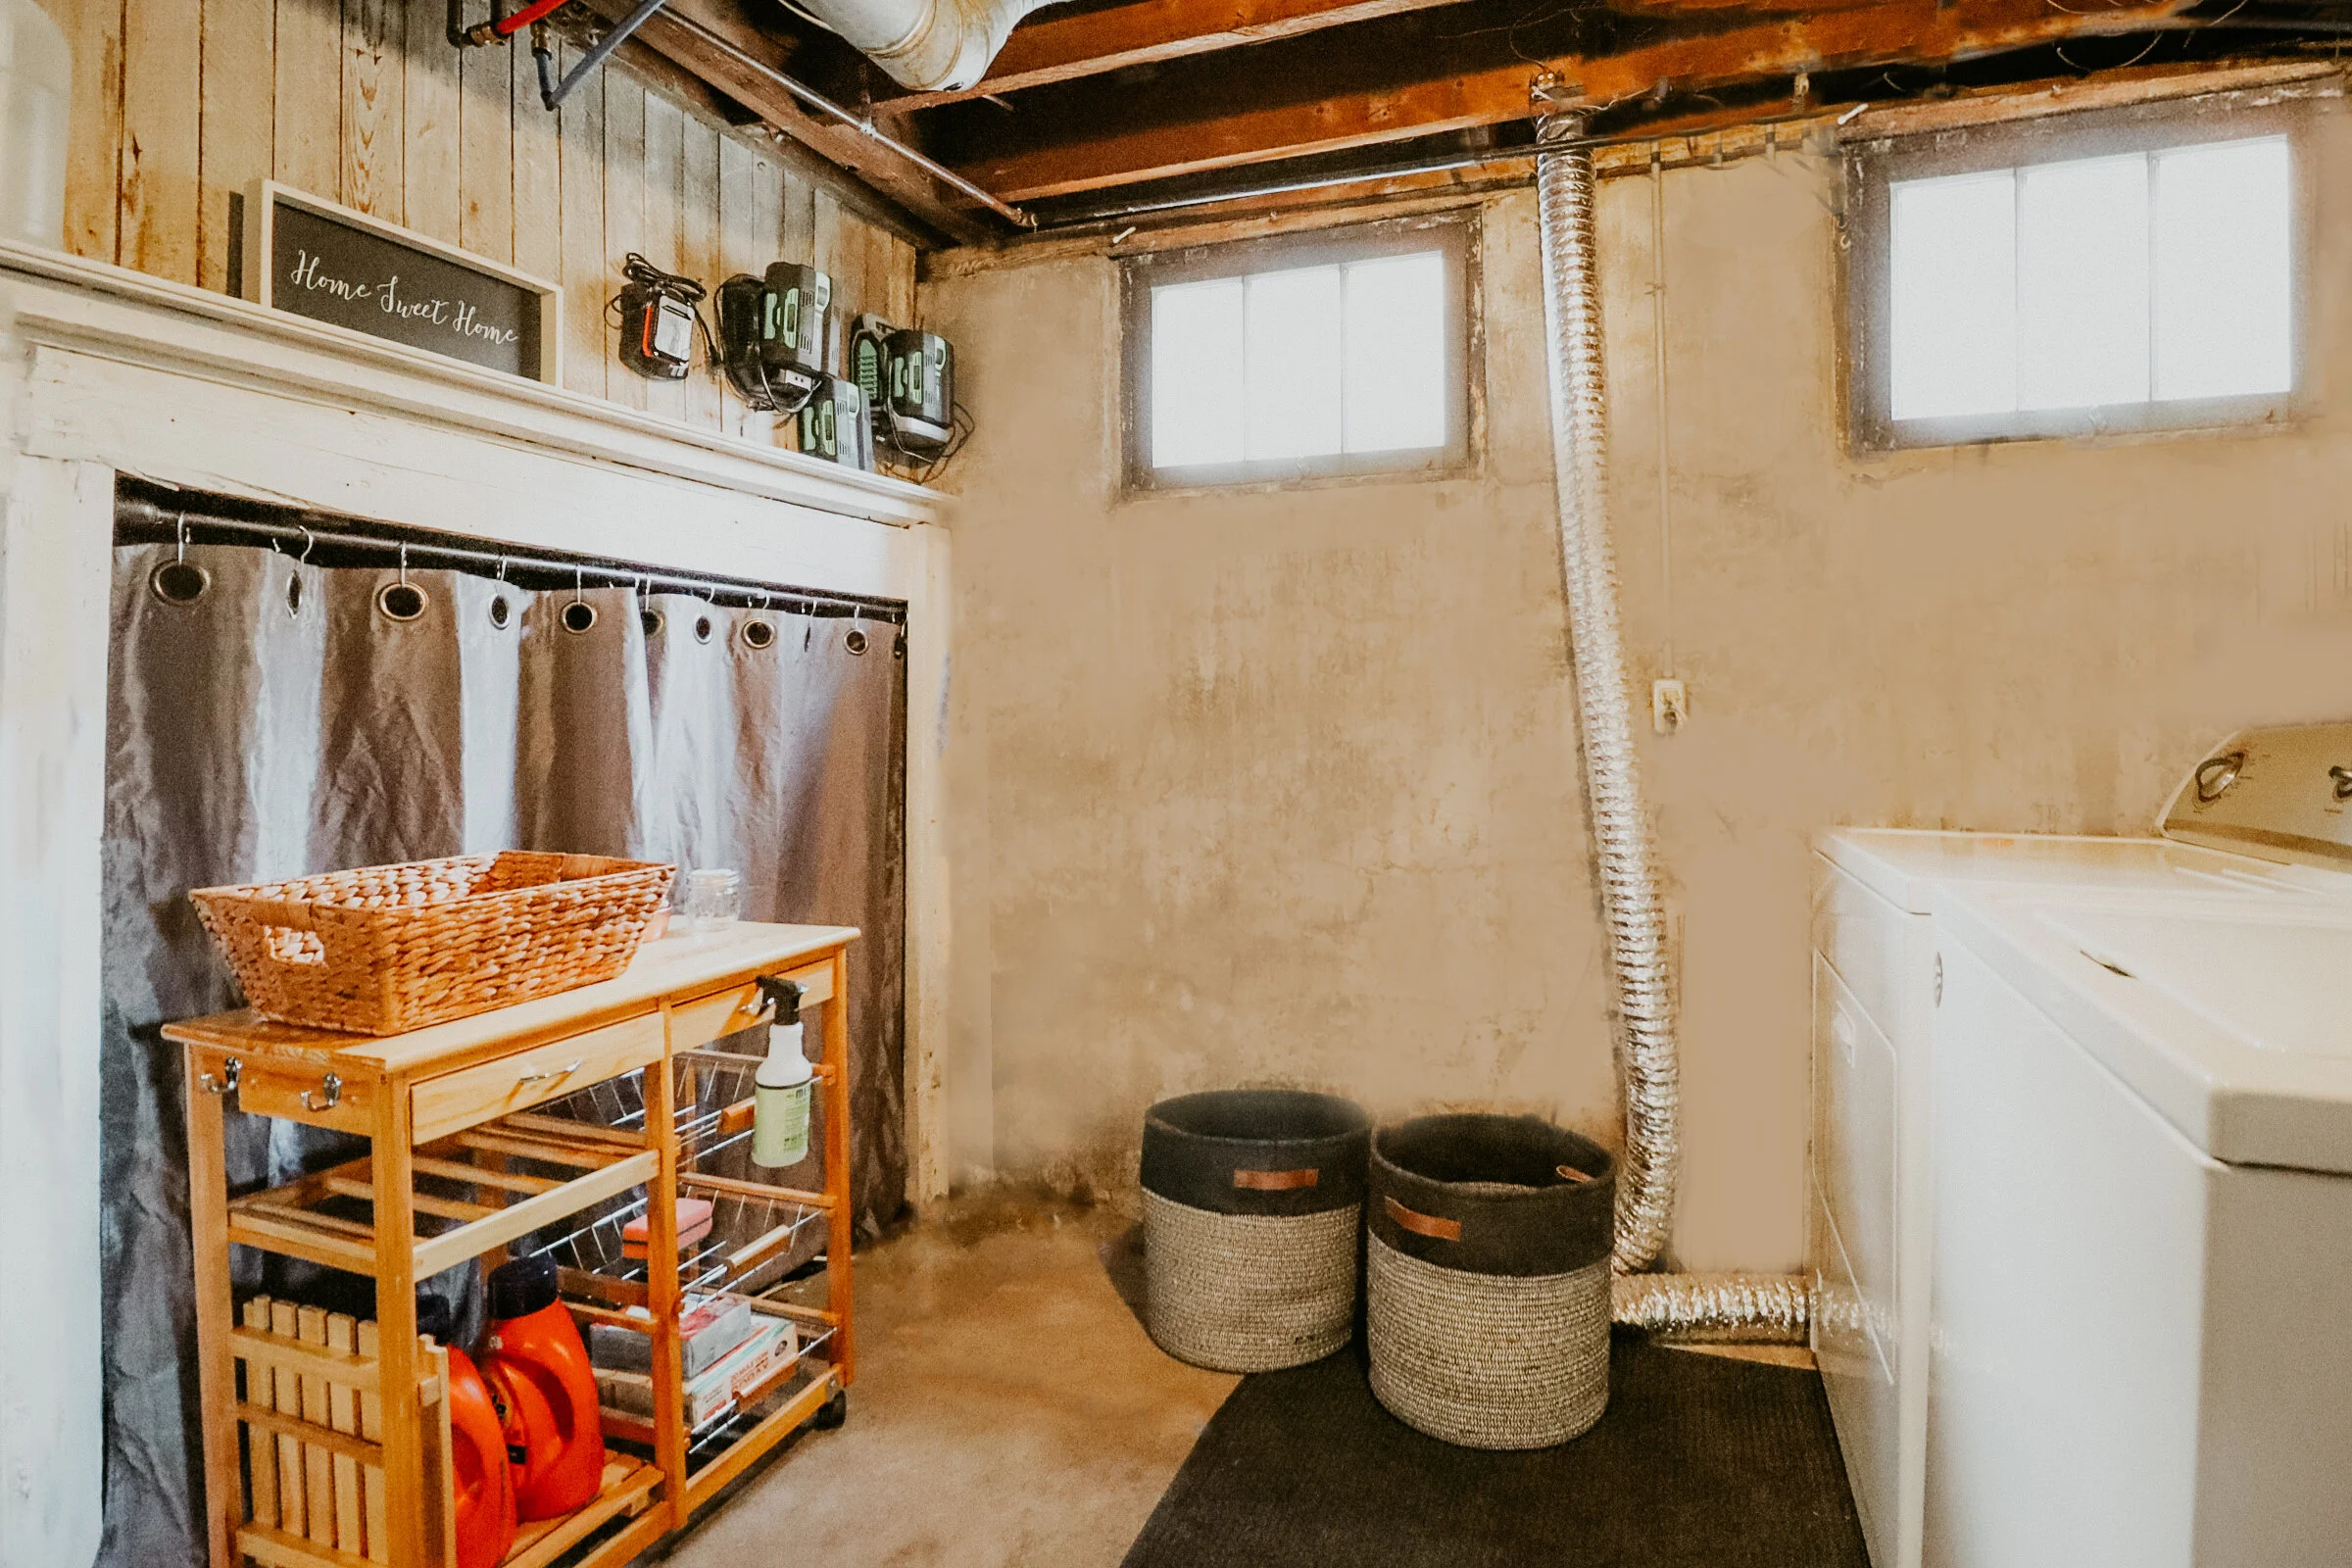
DAY 7 | THE LAUNDRY AREA
If your washer and dryer are also in the basement, now is a good time to clean those as well. Give the interior of each machine a good wipe down using a damp cloth and your favorite cleaning detergent/bleach/vinegar/whatever you prefer. Make sure the lint is cleaned out of the dryer and vacuum every thing off. Then remove anything that is sitting on top of the machines and wipe down those surfaces. Finally, line up your detergents neatly on a shelf or surface nearby.
That’s it folks! Questions? Comments? Any secret ideas to add to this? We’re all ears! Hit us up in the comments.